Instagram Effect in Photoshop (Nashville Effect)
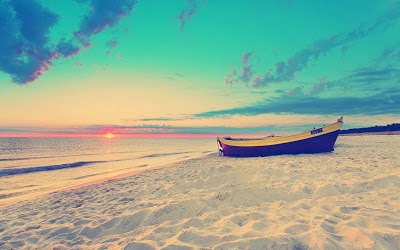
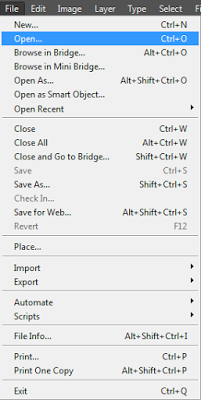
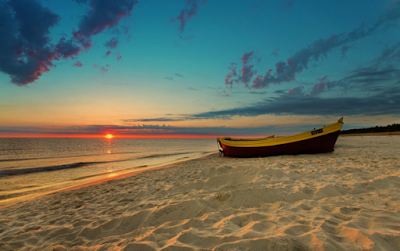
1st Step: Open the image that you are trying to give this effect by opening the File / Open.
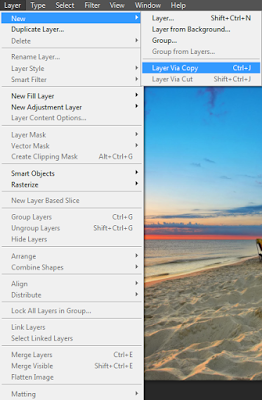
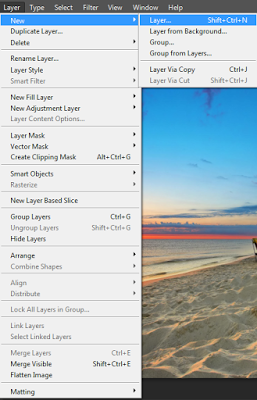
2nd Step: Create a new layer by going Layer / New / Layer with copying.
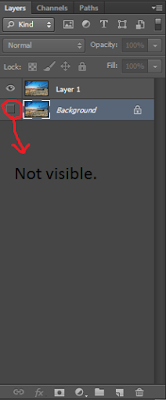
3rd Step: make the Background layer invisible.
4th Step: Adjust the color at the top of the Layers panel. R-247, G-217, B-173.
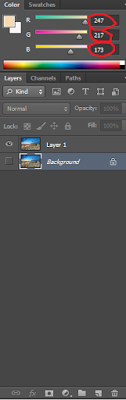
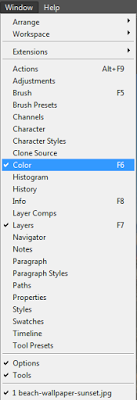
NOTE: If you do not have you can open the Layers panel by going to Window / Color or else just press F6.
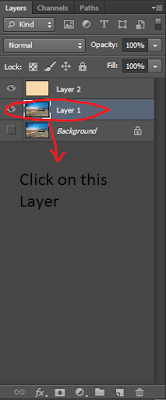
5thStep: Create another new layer by going to Layer / New / Layer or press Shift + Ctrl + N. When creating a new layer make sure you have clicked this time Layer 1.
6thStep: Now take the Paint Bucket tool from the tool bar or press G.

7th Step: Fill the layer with the color you choose. It is a brownish gold color. This should give something like this.

8thStep: And now change the blending mode to Multiply.
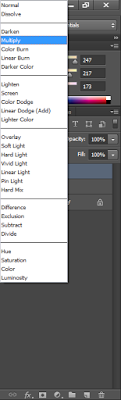
It should be automatically changed to the picture goldish like this.
9thStep: Click on Layer 1.
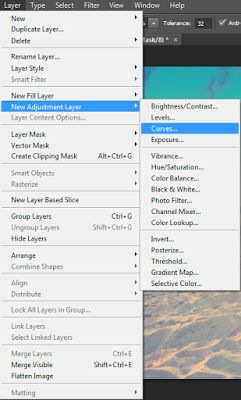
10thStep: Now go to Layer / New Adjustment Layer / Curves.
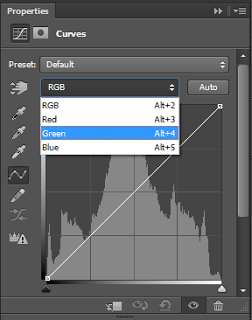
12th Step: Once the curve bar pop up select the color Green.
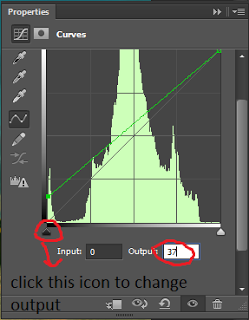
13thStep: And change the output to 37.
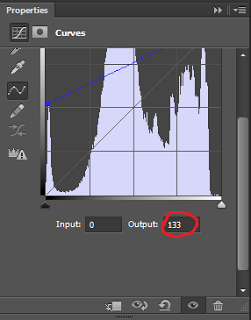
14th Step: Just like the changing colors Blue and outputs for itu133.
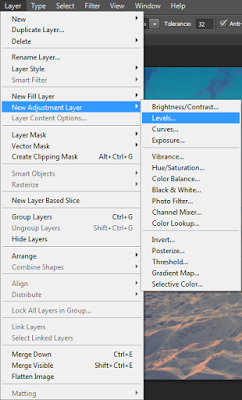
15thStep: Once again go to Layer / New Adjustment Layer / Levels.
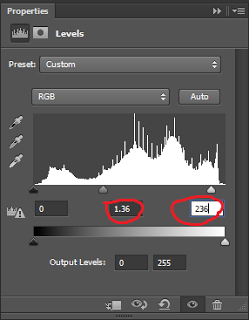
16thStep: After a pop up box level, set in the middle and right 1:36 236.
.png)
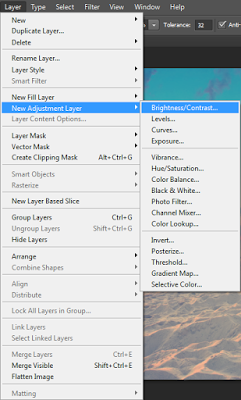
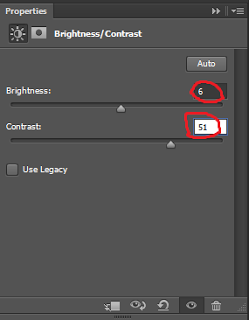
17th Step: Now go to Layer / New Adjustment Layer / Brightness and contrast.

18thStep: adjust brightness and contrast 51 to 6.
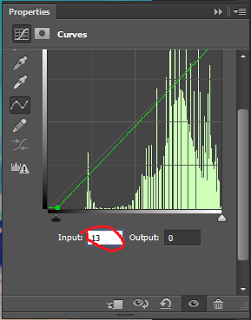
19thStep: Once again creates a curve by going Layer / New Adjustment Layer / Curves.
.png)
20thStep: This time again Green and masukan13.
.png)
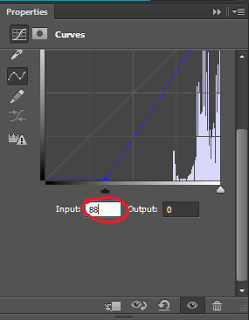
21stStep: Now Blue input 88.
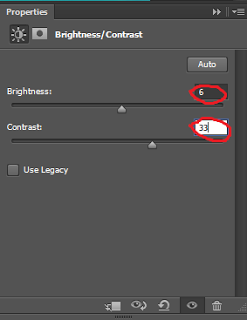
22ndStep: Once again have to Layer / New Adjustment Layer / Brightness and contrast.
23rdStep: 6 now adjust brightness and contrast 33.
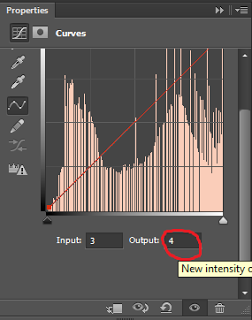
24thStep: Once again go to Layer / New Adjustment Layer / Curves.
25thStep: Select a color Red, output 4.
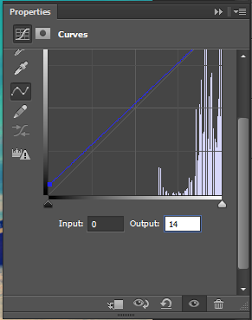
26th Step: Select the output for the blue color and it is 14.
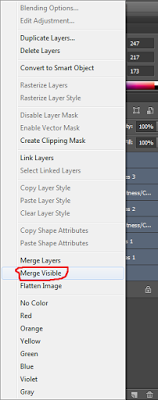
27thStep: Now Merge all layers as one by holding Ctrl + all layers, right click Merge visible.
28th Step: Now that you've finished you can save your images
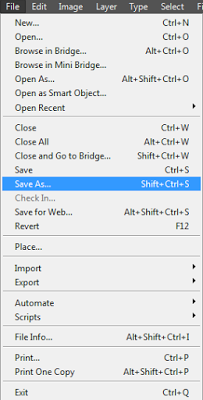
1st Step: Open the image that you are trying to give this effect by opening the File / Open.
2nd Step: Create a new layer by going Layer / New / Layer with copying.
3rd Step: make the Background layer invisible.
4th Step: Adjust the color at the top of the Layers panel. R-247, G-217, B-173.
NOTE: If you do not have you can open the Layers panel by going to Window / Color or else just press F6.
5thStep: Create another new layer by going to Layer / New / Layer or press Shift + Ctrl + N. When creating a new layer make sure you have clicked this time Layer 1.
6thStep: Now take the Paint Bucket tool from the tool bar or press G.
7th Step: Fill the layer with the color you choose. It is a brownish gold color. This should give something like this.
8thStep: And now change the blending mode to Multiply.
It should be automatically changed to the picture goldish like this.
9thStep: Click on Layer 1.
10thStep: Now go to Layer / New Adjustment Layer / Curves.
12th Step: Once the curve bar pop up select the color Green.
13thStep: And change the output to 37.
14th Step: Just like the changing colors Blue and outputs for itu133.
15thStep: Once again go to Layer / New Adjustment Layer / Levels.
16thStep: After a pop up box level, set in the middle and right 1:36 236.
17th Step: Now go to Layer / New Adjustment Layer / Brightness and contrast.
18thStep: adjust brightness and contrast 51 to 6.
19thStep: Once again creates a curve by going Layer / New Adjustment Layer / Curves.
20thStep: This time again Green and masukan13.
21stStep: Now Blue input 88.
22ndStep: Once again have to Layer / New Adjustment Layer / Brightness and contrast.
23rdStep: 6 now adjust brightness and contrast 33.
24thStep: Once again go to Layer / New Adjustment Layer / Curves.
25thStep: Select a color Red, output 4.
26th Step: Select the output for the blue color and it is 14.
27thStep: Now Merge all layers as one by holding Ctrl + all layers, right click Merge visible.
28th Step: Now that you've finished you can save your images