Creating Metallic Effects
I accidentally gave the title "Creating Metallic Effects with CorelDRAW" because there is little advantage
in SEO, keywords Effect lately so loved, gentlemen CorelDRAW campaign,
Ok. Let us consider, in fact in this tutorial at the point of emphasis / affirmation about how to make the gradation on the oblique object on most sides, in general that we often use to create a gradation effect is the Interactive Fill tool, but in this case we do not may use that feature, because the sloping sides, so as to create lighting effects that were apparent we here use the features of the existing Mesh Fill tool in the Toolbox;
First Step:
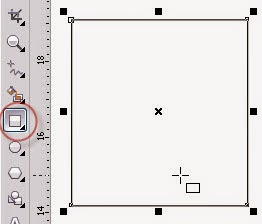
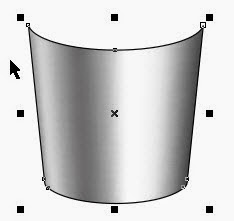
We create a model of its first Mug by making a basic object box with the Rectangle tool in the Toolbox;
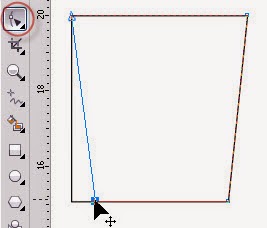
Then press Ctrl + Q in keyboart, then by using the Shape tool slide down into the node, as shown below roughly;
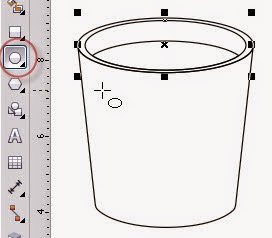
Next create a circle object to make the top Mug
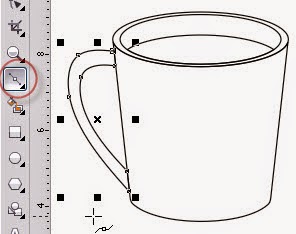
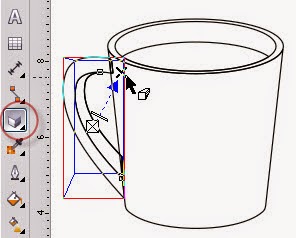
Do not forget to make the handle as well;
Set the Extrude Extrude tool to create the object;
Step two;
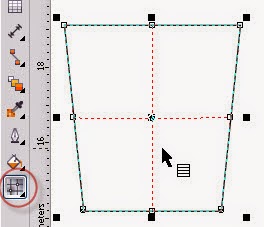
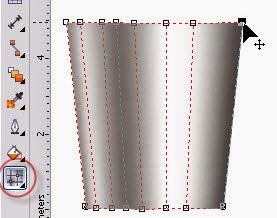
Create another object as above and dibesarin little bit, then in the Toolbox select the Mesh Fill tool, then the object will be as shown below;
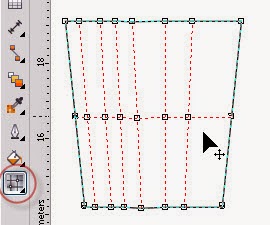
Add a Mesh grid by clicking on the top side of object, as shown below;
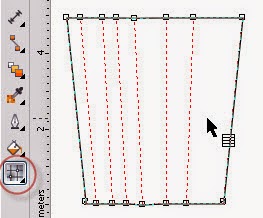
To facilitate the provision of waste color of the central grid, and the result will be as shown below;
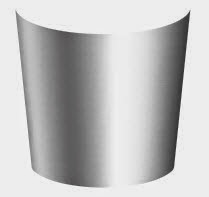
Furthermore, the color application stage, the selection of nodes up and down on the grid one by one and give color to our liking;
Furthermore positioned on the object that we created in the first step above, as shown below;
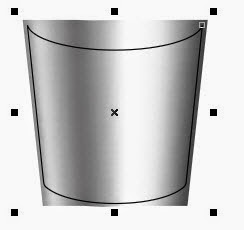
Use the Power Clip to enter;
And would like the image below;
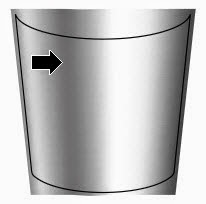
And would like this picture if we dispose of its outline, and do the other objects;
've All done;

I accidentally gave the title "Creating Metallic Effects with CorelDRAW" because there is little advantage
in SEO, keywords Effect lately so loved, gentlemen CorelDRAW campaign,
Ok. Let us consider, in fact in this tutorial at the point of emphasis / affirmation about how to make the gradation on the oblique object on most sides, in general that we often use to create a gradation effect is the Interactive Fill tool, but in this case we do not may use that feature, because the sloping sides, so as to create lighting effects that were apparent we here use the features of the existing Mesh Fill tool in the Toolbox;
First Step:
We create a model of its first Mug by making a basic object box with the Rectangle tool in the Toolbox;
Then press Ctrl + Q in keyboart, then by using the Shape tool slide down into the node, as shown below roughly;
Next create a circle object to make the top Mug
Do not forget to make the handle as well;
Set the Extrude Extrude tool to create the object;
Step two;
Create another object as above and dibesarin little bit, then in the Toolbox select the Mesh Fill tool, then the object will be as shown below;
Add a Mesh grid by clicking on the top side of object, as shown below;
To facilitate the provision of waste color of the central grid, and the result will be as shown below;
Furthermore, the color application stage, the selection of nodes up and down on the grid one by one and give color to our liking;
Furthermore positioned on the object that we created in the first step above, as shown below;
Use the Power Clip to enter;
And would like the image below;
And would like this picture if we dispose of its outline, and do the other objects;
've All done;